
Hello friends!
With the Wooolf Sounds Blog, I aim to guide people in creating their own music. To start with the basics: in this post we’ll look at a good way to get started with music production, using freely available and/or cheap tools.
Introduction
In this digital day and age, nearly anyone can create music.
A standard pc or laptop, some free software tools, and a basic speaker setup or decent headphones are all you need to get you going.
A lot of online tools and services are available to do your own promotion, licensing and distribution.
In this blog article, we focus on arguably the most important first step: creating the music and developing a personal sound.
With an ocean of software tools and plugins available, it can be overwhelming to find a good starting place. The research involved can be daunting and time consuming. To help with this, I will provide you with a path to follow, regardless of the kind of music you want to create.
This article is not just for people who want to take their first steps in music production. People who want to start using the Reaper DAW or learn a way to create accompaniments for vocal or instrumental performances can also benefit.
Let’s dive right in and get started with making music!
What you need to start with music production
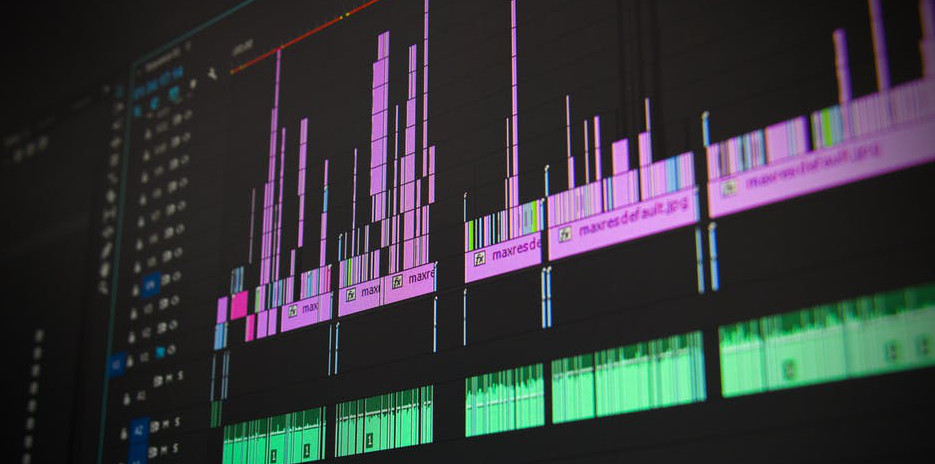
The central nervous system of your digital music production setup will be the Digital Audio Workstation or ‘DAW’.
The DAW is where you can record different audio tracks, insert virtual instruments, program the notes and beats and make it sound great using effects and processing.
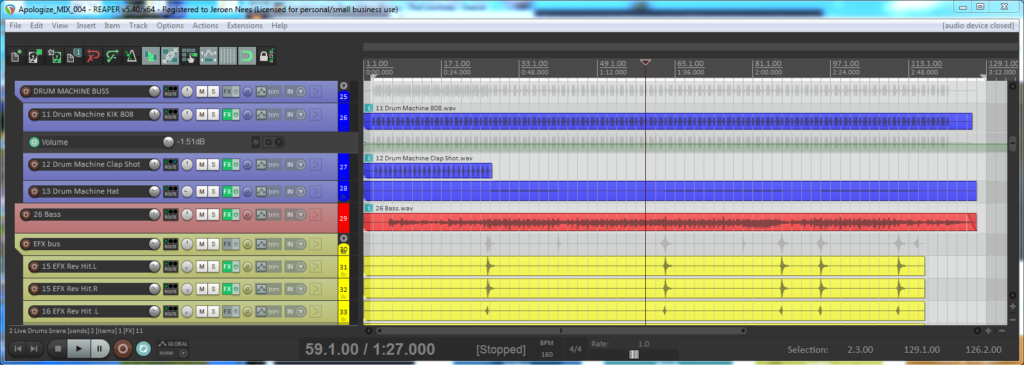
There are a lot of great DAW programs–even free ones–available today. For this article (and coming articles), I will choose Cockos’ Reaper. This is my go-to DAW for producing and mixing.
This marvellous DAW is free to use for a period of 60 days, no login details required. You get a dialog prompting you to buy a license that you can close after a few seconds. You can even continue using it without limitation after 60 days.
That said, a license is very cheap and includes lifetime updates, so there’s very little reason not to purchase after 2 months of trial period. After 2 months, you’ll probably know if music production is something you’d like to pursue further. Reaper isn’t free, so buy it if you continue using it.
Installing Reaper
- download link: https://www.reaper.fm/download.php
- Getting started: https://www.reaper.fm/guides/REAPER Quick Start.pdf
- Options > Preferences (or Ctrl+P): choose audio driver, input/output
channels, MIDI settings, VST plugin folders etc..- In the ‘Audio – device’ settings, you can adjust buffer sizes. If you want to record with low latency*, experiment with this to get a setting that allows a minimal buffer size without hampering the playback. You can use the example project provided below to test playback smoothness.
- * ‘Latency’ means the delay between an input action (e.g. playing a note on a keyboard) and the resulting sound output. Better CPU, sound card and/or drivers allow for lower latency.
- In the ‘audio system’ drop-down box, you can select different systems. ASIO allows for lower latency in most cases. To get started with ASIO, you can try the free and popular ‘ASIO4ALL’ drivers here.

Standard plugins/instruments overview
Reason contains a set of useful instrument and effects plugins right out-of-the-box:
- ReaEQ: a very good standard equaliser plugin for shaping the frequency content of an audio track.
- ReaDelay: a standard delay / echo effect
- ReaSamplOMatic5000: basic general-purpose sampler
- Add drums, sound FX, vocal samples..
- Audio clips can be dragged directly into the tracks, but using this plugin allows you to play the sample as an instrument and has some extra features.
- ReaSynth: very basic synthesizer plugin
- Bass sounds
- Melody/pads
- Lead melody sounds
- ReaComp: the standard Reaper compressor: attenuate louder peaks in an audio stream.
- ReaVerbate: Free reverb plugin to add ambience
- ReaVerb: ‘IR’ or ‘impulse response’ reverb plugin. Separate impulse response files are needed. Can be used to simulate realistic room/hall reverbs, but can also be used for different purposes, guitar speaker simulation for example.
- ReaPitch: Change tuning and/or formant of an audio stream.
- ReaTune: (Guitar) tuner, autotuner, pitch correction.
- …
For detailed information on how these (and more) plugins work, check the ReaEffects guide on the Cockos website: https://www.cockos.com/reaper/guides/ReaEffectsGuide.pdf
(To find out more about some other audio plugins you can start using now, check out this article.)
Download a free basic example project
I’ve created a simple example project with some percussion and bass to show you how it works. Just leave your email and you’ll get a reply with a link and password for downloading the example project and the drum samples from the previous article.
The project only makes use of standard Reaper plugins, to show you that you don’t need fancy, expensive plugins to get started. (I’ll share some of my favorite free plugins in a later post.) Just extract the project folder somewhere and open from Reaper (File > Open project..).
You’ll also get updates about further posts if you select the option to receive emails from Wooolf Sounds while subscribing.
Last but not least, please leave your comments or drop me an email if you have questions on certain aspects of getting started with Reaper (or music production in general).
At your service!
Wooolf