
Hey friends!
Today, musicians can DIY (‘do it yourself’) a lot of the tasks traditionally reserved for the record labels or specialists. Many online tools are available to do licensing, publishing, promotion, distribution, .. Online services even offer cheap (automated) online mixing or mastering.
Online services indeed allow for cheap ways to get a better sound, albeit a very ‘generic’ solution. On some services you can set some basic parameters on what you want the result to sound like, but these are also very generic. No feedback or revisions are possible with these services.
If you want to stand out of the masses, have specific requests or want some control over what the result should sound like, your best options are to do it yourself or hire a professional to mix for you.
We’ll take a look at what skills and tools are needed to mix your own music. We’ll also highlight some common pitfalls to watch out for.
Can you DIY mixing/mastering?
As hiring a specialized mixing and/or mastering engineer can be costly, many DIY artists today also like to handle these tasks themselves. A lot of digital tools and courses are available to get you started.
This can work in many cases, but certain skills, tools and experience are needed to get the mixing and mastering right! I’ll provide an overview of some of the prerequisites for delivering a great end-result via mixing/mastering.
Skills needed
A great musical and technical ear
As a musician or producer, you probably have a great musical ear: you know best what effect you want to obtain using a certain melody, timbre, chord pattern, arrangement etc..
However, it’s also important to know how to achieve certain sonic results: which recording techniques to use, what frequencies to enhance or attenuate, what type of natural or virtual reverb ‘spaces’ to use, how to use compression for different purposes..
Recognizing frequencies and frequency ranges
Although, in theory, it is possible to use equalizers on a trial-and-error basis (scanning the spectrum for frequencies to boost or attenuate), a lot of efficiency gets lost that way. Even if you can afford to spend some time on getting this right, not everyone prefers to use their free time on this part of the process. Many artists want to spend most of their time on what they do best: writing and playing music.
The skill of recognizing frequencies by ear can be learned, especially if you already have ‘absolute pitch‘ hearing. If you can recognize musical notes by ear, you can certainly learn to recognize frequencies. But again, this takes time and practice.
Listening experience
To be able to recognize what a good mix needs, you need to be an expert listener. Many musicians listen to a lot of quality music, especially in the genre or style they want to create for their own music. This will help the artists recognize whether a mix sounds great/good/bad.
Again, recognizing issues with a mix does not imply the technical skills or experience to also know how to solve these issues. When DIY-ing the mixing process, you have a lot of opportunity to go back and adjust things to get the music to sound the way you want it to sound. However, this can quickly lead to a lot of time spent on making all these adjustments, without the guarantee that the result will be great as opposed to good (enough).
Tools needed
Great speakers and/or headphones
Any monitor speaker, even those costing multiple thousands of dollars, distorts the audible spectrum. For most cheaper speakers this can really be a problem: you can’t get a great mix if you’re not hearing a truthful representation of what you’re doing.
A natural sounding, full-spectrum listening environment
You can have great monitor speakers, but at least as important is a great space to mix in. What makes a space great involves a lot of parameters and it’s difficult to discern general rules.
The danger of being in a ‘bad’ room with suboptimal speaker placement is that the resulting frequency response is uneven. There are dips and peaks on different frequencies, caused generally by ‘standing waves’.
To experience this, try running a sine sweep through your playback system. You will be astonished with the difference in volume over different frequencies! Even in professional studios this test will reveal significant peaks and dips in the spectrum.
A sine sweep from 20 Hz to 400 Hz, at -6 dB, over 32 seconds. Ideally, perceived loudness should be constant after a few seconds.
As long as you mix in a room, this effect is unavoidable, but it can be diminished by careful speaker placement and acoustical treatment. Again this ‘tuning’ of a room is costly in terms of time and/or money.
The result of big dips and peaks in the spectrum is that you will (unknowingly) compensate for these imperfections until the result sounds great in your particular setup. The mix can lose a lot of its qualities when played back on the different setups that the listeners use.
It is technically possible to do your mixes using good headphones, thereby greatly reducing the effect of room imperfections. But mixing on headphones can be exhausting to the ears and is not for everyone. In most cases, it can help to mix the music using a combination of monitors and headphones.
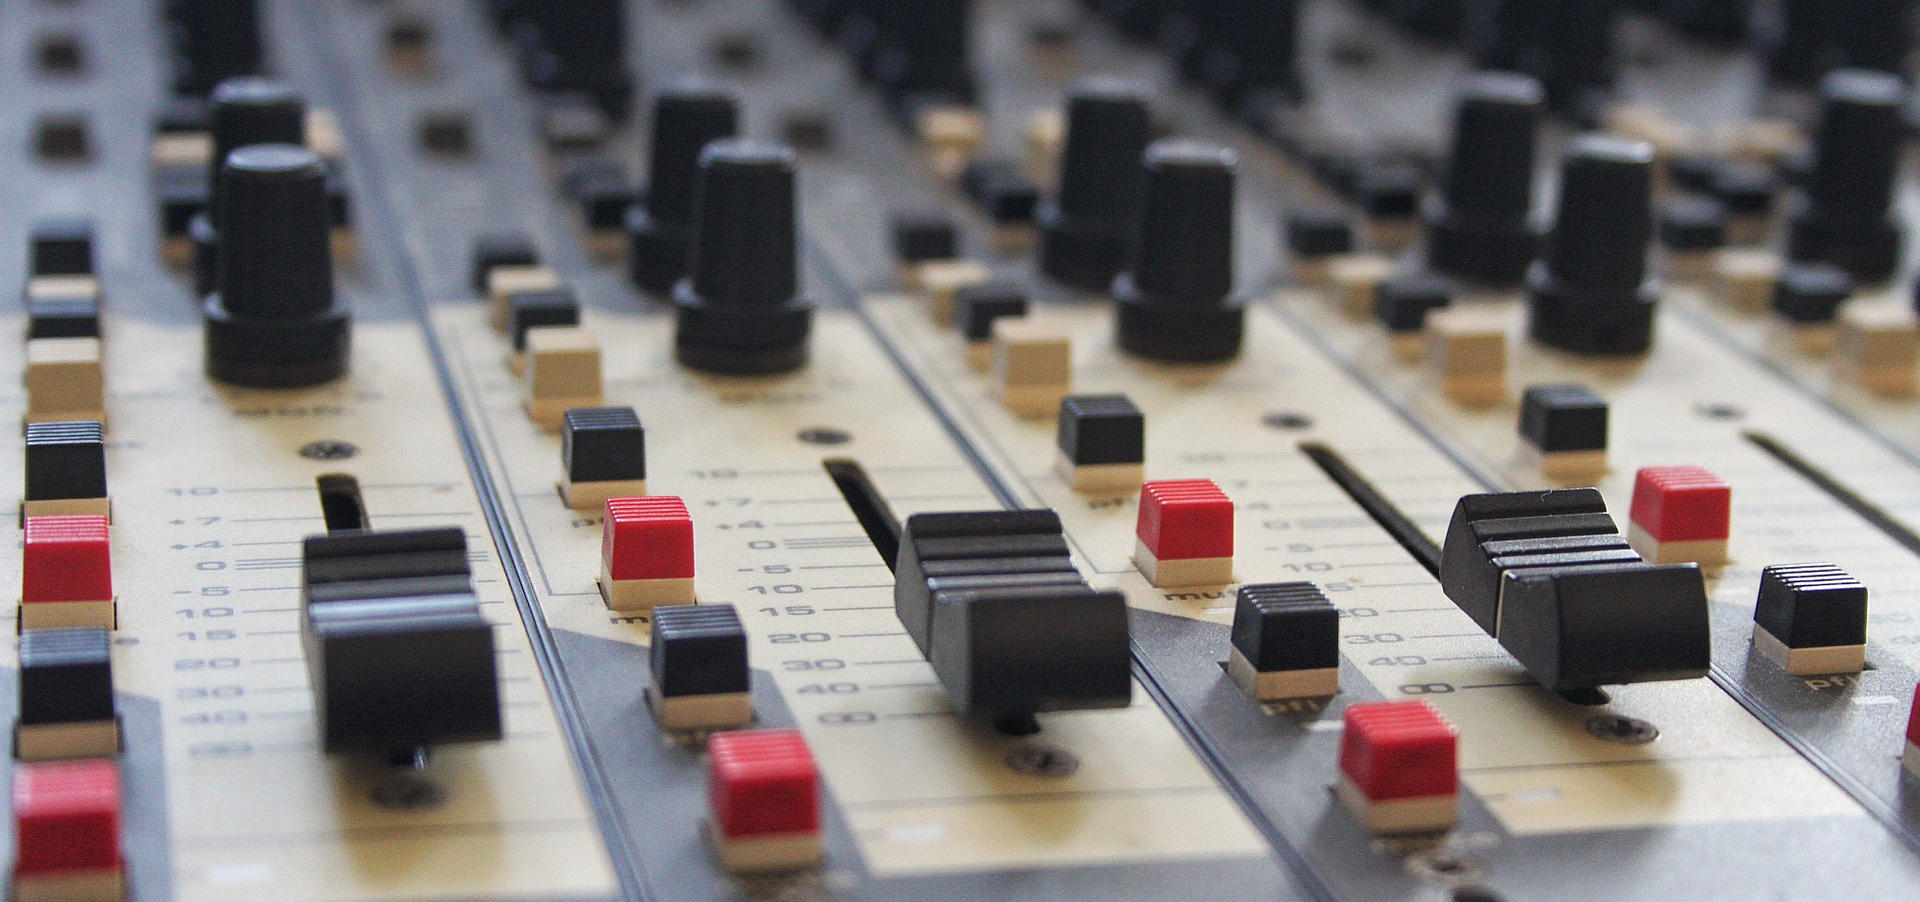
The mixer’s job
What processes will a mixer go through when mixing a song? An overview follows below.
Balancing the various instruments
Seemingly the simplest step, but also arguably the most important one. Using his musical feeling, an understanding of the contents of the song and following the instructions of the artist, the mixer will first create a general balance. Apart from volume changes, this also involves placement in the stereo spectrum to get a good left-right balance.
Together with the artist, the mixer decides what parts get the main focus of the song and what other parts get more of a ‘background’ function. The mix is then built up around the few parts that need focus. Supported by the feel and energy in the background parts.
Make the parts work together better by shaping the individual sounds
Equalizing and compression are important tools in this.
Equalizing is used for ‘sonic sculpting’ as I like to call it. Each instrument gets it’s ‘position’ in the frequency spectrum. Frequency ranges are carefully attenuated or boosted to make the characteristic of the specific part stand out.
Compression is used for different purposes. The overall volume balance of the track can be made more consistent. We can achieve this by carefully diminishing volume peaks and/or making silent passages louder. Compression can also be used to change the characteristic of the sound in terms of attack-decay balance, punchyness or ‘up-front’ ness.
Adding ‘ambience’ and ‘atmosphere’ by choosing the right reverb and delay effects
Most people know some of the basic rules for working with reverb and delays. For example: vocals benefit from a nice reverb/delay in most cases, the snare usually sounds better with a decent amount of reverb..
There’s a lot more to working with reverb and delays though. Many types of reverb exist, all with a certain sonic quality, some more fitting to a certain situation than others. Again it takes practice and experience to be able to discern which type and settings are appropriate to use.
Reverb also has a ‘placement’ aspect to it. Among other techniques, you can make sounds appear closer or further away by applying less or more reverb. Even specific settings on the reverb effect, like pre-delay, can contribute subtly to depth perception.
Automation
One of the last steps, but by no means the least, is ‘automation’. This means creating or enhancing a dynamic tension arc in the song by subtle movements of faders and parameters at the right times.
These changes-over-time can mean the difference between a good or a great mix. Again, musical feeling and technical knowledge are combined to get tasteful results that pull the listener deeper into the music on an emotional level.
As a lot of feeling and taste are involved in this step, it is nearly impossible to get this quality from an automated mixing service.
Validation
Finally, the mixing engineer should check if the result is good to go, taking into account different aspects:
- Does the mix translate to different systems? The mixer will listen on different speakers and in different environments to assess the quality
- Does the mix keep the listener captivated during the whole song? The mixer will add automation steps and maybe even subtle extra parts to achieve this. For example, a subtle synth pad can make the second verse differ from the first to get a sense of build-up. Do the hooks and choruses stand out as such from the rest of the music?
- Does the mix have a good overall frequency balance? No obvious dips and or peaks in the spectrum? These can result in harshness, boomyness, ‘muddy’ sound, thin sound, ringing, etc..
- When the mix is done, it is sent to the artist for validation on his/her part. The artist can then give feedback and suggest certain changes to be implemented in the next revision.
DIY mixing pitfalls
Although mixing yourself can be a good option with the right knowledge, experience and tools, you should always watch out for these pitfalls.
Too immersed in the recording: anything sounds great
By hearing the music over and over, some imperfections can go to the background. You can even learn to love certain imperfections just by hearing them many times over. Be aware that these imperfections can be distracting for a first time listener and even perceived as ‘amateur’ sounding. You might be an amateur, not a professional, but that doesn’t mean you don’t want to sound like a pro ; )
workaround: Get feedback by letting others hear your music. Be aware that friends and family can be biased or lenient and easily impressed. They just think you are fantastic, and so is anything you create. Alternatives are posting it to a forum and asking for feedback there. Or hire a professional mixing engineer. He will hear and fix the imperfections or request/perform a re-recording if needed.
All monitoring is done on the same system and/or in the same room
This means you will be adjusting to the same room or setup imperfections in every step of the way: composing, recording, mixing, mastering. In this way, you will not only overcompensate for these imperfections once but multiple times, adding up the issues created by compensating.
workaround: Use different rooms and or different setups for different parts of the production process. This can also be expensive in terms of time and money. Of course, you can always hire a professional mixing engineer ; )
Emotional attachment/bias
Apart from emotional attachments to imperfections in the recordings, you can also let personal feelings bias your decisions. For example: you really like the bass player, so you will make sure the bass is loud. On the one hand, you like him so you like his sound. On the other hand, you will want him to be pleased, so he gets some extra attention in the mix.
The inability to ‘kill your darlings’
This also is related to emotion: imagine you have put much work in a synthesizer sound and you are really pleased with it. It then can become very difficult to make an unbiased decision to remove (part of) that sound you’ve worked so hard on. Even if it would work much better by subtly mixing that part only near the end of the song for example.
Shyness can stop you..
It can be weird and confrontational to hear your own singing voice. A common mistake when mixing your own music is to not give the lead vocal the spotlight it deserves. Many artists want to hide the vocal a bit by putting it way too quiet or drowning it in a pool of reverb. Be proud enough to make that vocal shine and stand out from the music! In 90% of the cases, the lead vocal is the most important part of the song.
Conclusion
Some artists can mix their own music, provided they have a strong technical background, lots of mixing experience and great tools and environment to do the job. If you’re new to mixing/mastering, expect to spend a lot of time learning the ropes. Getting good at mixing requires understanding, great tools and a LOT of practice and experimentation.
If you love the technical aspect and want to spend a lot of your time learning and practicing, by all means you can get good results mixing the music yourself. When you want really great results without spending all that time on learning the craft, your best option will be to hire a professional mixer.
If you do decide to go the DIY mixing route, some advice: practice, keep learning, experiment and have fun!
Thanks for reading this article! If you want to get updates on future articles, please subscribe to the newsletter! (You’ll get a free drum sample pack and an example Reaper project as a bonus)
P.s.: What aspects of music production would you like to learn more about? Please leave your feedback and questions in the comment section!