

Step-by-step: MIDI programming in Reaper
When it comes to music production, there’s one basic technical skill you need to understand: MIDI programming.
( For help on getting started with Reaper, check this blog article. )
What is MIDI
- MIDI stands for Musical Instruments Digital Interface. It’s a digital communication protocol designed to send musical signals (notes, sound parameters, ..) between digital instruments. In a DAW, you can use it to route notes on a track to a synthesizer VST plugin for example.
- MIDI is an old standard, being used since 1983, but it’s still the universal standard today. Most if not all DAW’s use and support this standard.
- Some newer standards exist, but none of those are as widely accepted as the basic MIDI protocol.
- It’s not necessary to know all of the implementation details to use it in a DAW (see next paragraph)
MIDI in DAW’s
Programming MIDI in a DAW often amounts to drawing notes on a piano-roll style screen.
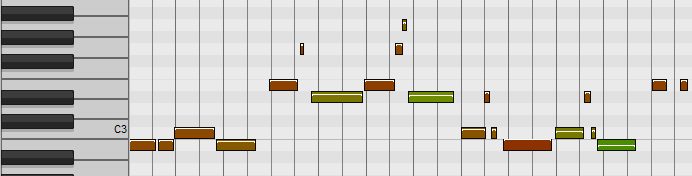
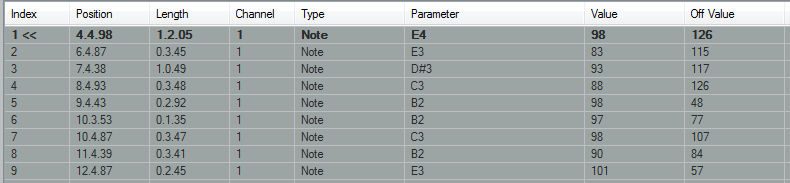
This is a view on what the raw data looks like:
How to create with MIDI in Reaper
There are several ways to add MIDI data in your Reaper projects: record a MIDI input or draw the notes in a MIDI track.
Playing MIDI notes on an external keyboard
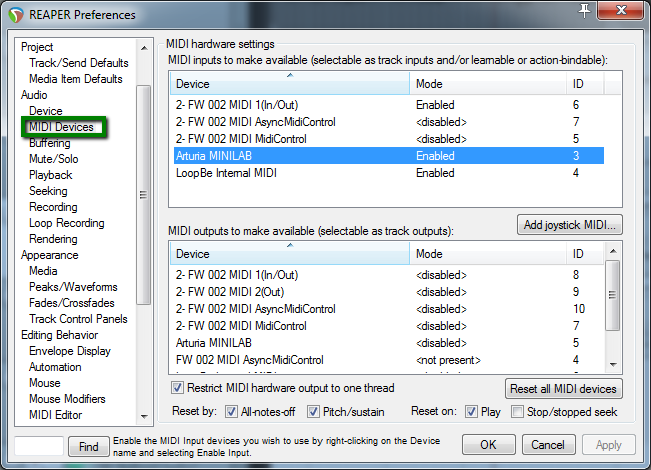
To record MIDI notes, you can connect a device with a keyboard or percussion pads. To properly set up your connected MIDI device in Reaper, go to ‘Options > Preferences > MIDI Devices’. Find your device there and see if the ‘Mode’ is set to ‘Enabled’.
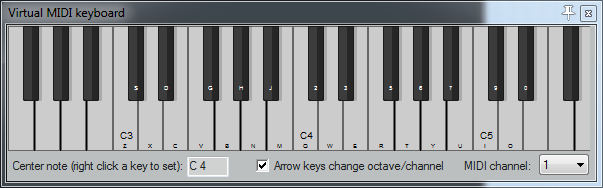
If you don’t have an external MIDI device, you can use the ‘Virtual MIDI Keyboard’ feature. (use the menu ‘View > Virtual MIDI Keyboard’ or press alt+B)
Playing the MIDI input device of your choice will not make a sound by default. For that, you need a track with some sort of MIDI output plugin. A synthesizer, sampler or drum machine for example.
Right click the track list and choose ‘insert new track’ or press ctrl+T. This creates a new empty track. To prepare this track to work with MIDI, you make e a few modifications on this track:
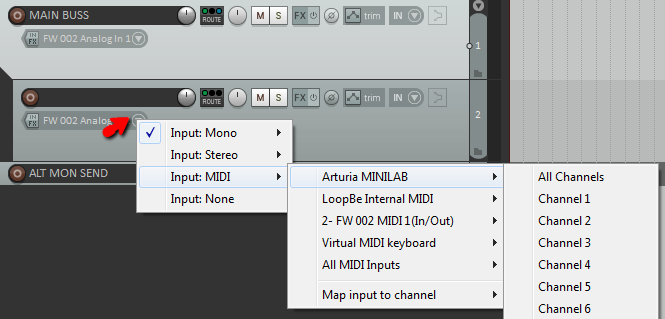
Set the input to the MIDI device of your choice (All Channels is usually good):
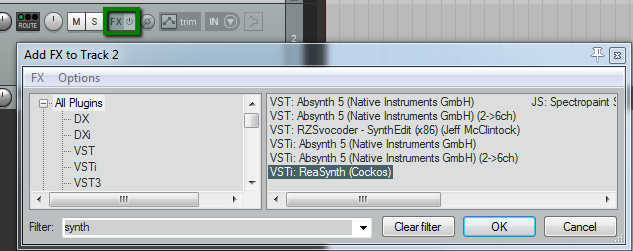
Add a VST instrument of your choice. You can test this with the stock instrument ‘ReaSynth’.
Finally, set the track to ‘Record Arm’ and ‘Record Monitoring ON’ to start playing notes in the ReaSynth VST.

To record the notes, just hit the record button in the playback controls section. It’s helpful to enable the metronome when you want to record something that is rhythmically compatible with the active tempo setting for the project.

Drawing MIDI notes by hand.
You can also just use your mouse to draw MIDI notes on the piano roll.
Create a new track as detailed above.
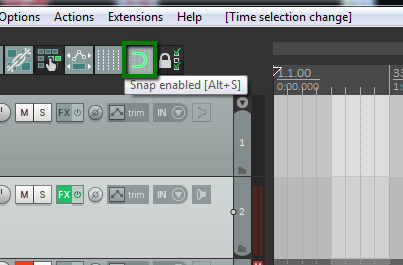
With ‘snap’ enabled, select a few bars in the time line by dragging the mouse in the track’s time line. Snap makes sure the selection starts and ends on a logical time, like a bar or a fourth note.
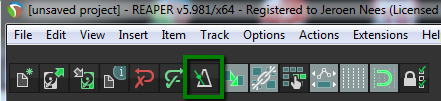
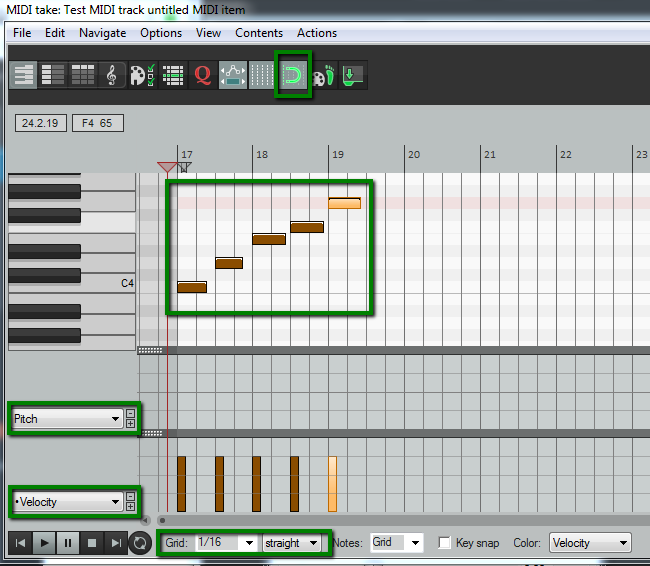
With the time selection active and the MIDI track selected, use the menu ‘Insert > New MIDI item’. This creates a new MIDI block in the track. To draw notes here, just double click the newly created item and start drawing notes on the piano roll.
You can adjust note position, note length and velocity by dragging on different zones of a note. (center, end and top respectively). The ‘snap to grid’ control makes it easier to position notes at exact timings. Use the ‘grid’ controls at the bottom to set the granularity of the grid.
Below the piano roll, you can view and change several parameters like ‘velocity’, ‘pitch bend’, ‘modulation’ and more.
That’s it for the bare basics of MIDI in Reaper!
Enjoy experimenting with your own music and leave a message in the comments section below if you have feedback, questions or remarks! Till next time!